
How I Re-Stained My Front Door to Refresh It (After 4 Years of Sun Damage)
Sometimes the smallest projects make the biggest difference! After about four years of sun beating on our front door, the stain had started to fade and lose that rich, warm color it once had. Instead of replacing the door or painting it, I decided to re-stain it and the result completely refreshed the look of our front porch!
The best part? This is a very approachable DIY project that you can most likely tackle in an afternoon.
If your front door is looking a little tired, here are the exact steps I took to bring mine back to life.
Exterior doors take a lot of wear over time, especially ours because it has direct sunlight. Over the years, our door had faded alot from sun exposure, lost its richness and depth, and started to look dull compared to the rest of the house. Every time I walked in our home it just looked so out of place. The wood itself was still in great shape, which meant it just needed a little refresh, not a replacement or paint. Re-staining the door helped restore that warm wood tone and curb appeal in no time.
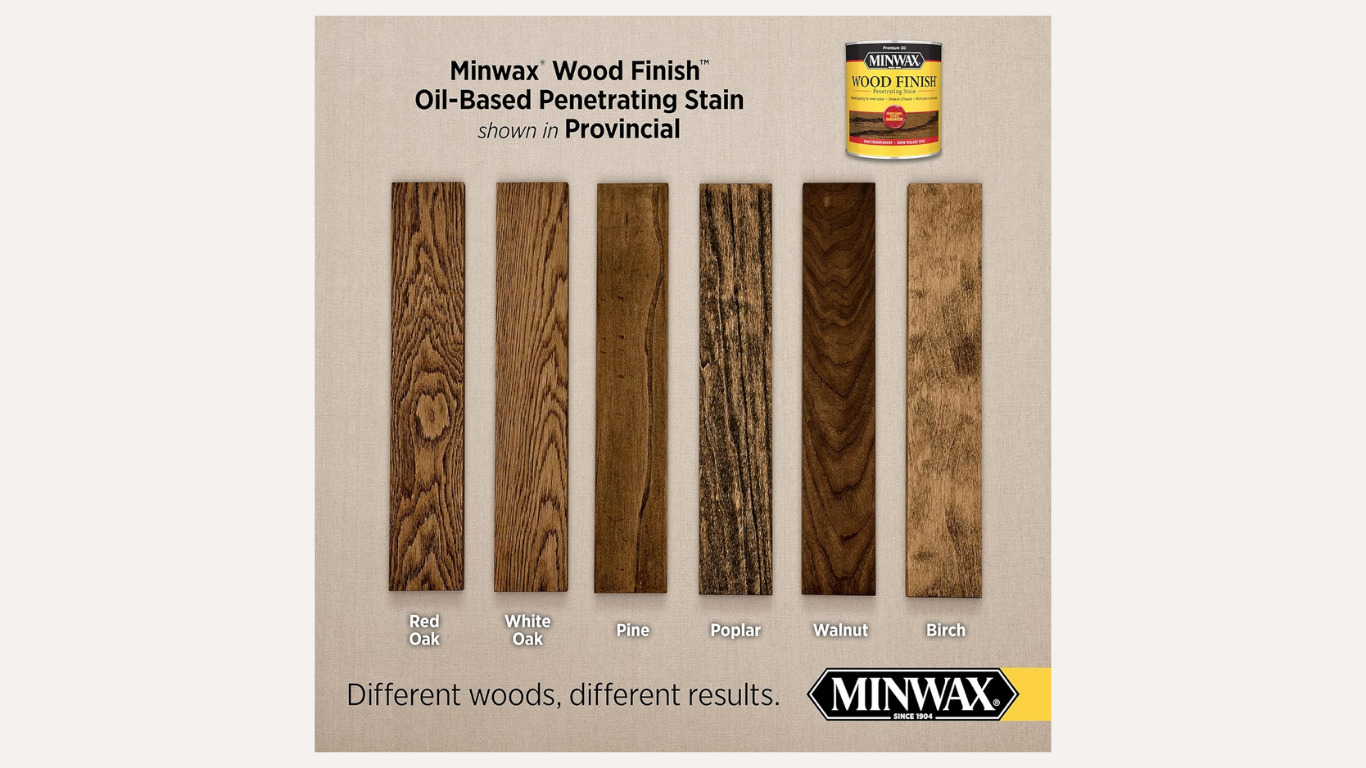
The Stain Color I Used
For this project, I used Minwax Provincial, which was already on the door to begin with but is also one of my favorite stain colors for exterior wood. Provincial gives a rich, warm tone that still lets the natural wood grain show through, making it feel timeless rather than trendy. It’s a great middle ground—not too dark and not too light—which makes it incredibly versatile.
Step-by-Step: How I Re-Stained My Front Door
Step 1: Clean and Prep the Door
Before applying any stain, I made sure the surface was clean and ready. This step is important because dirt or oils can prevent the stain from absorbing evenly.
Basic prep includes:
Cleaning the door surface (I love to use Krud Kutter)
A light sanding with a sanding block
Removing dust before staining by wiping
Taping along any lines to help with cleanup and smooth lines
Proper prep helps ensure the stain goes on smoothly and lasts longer.
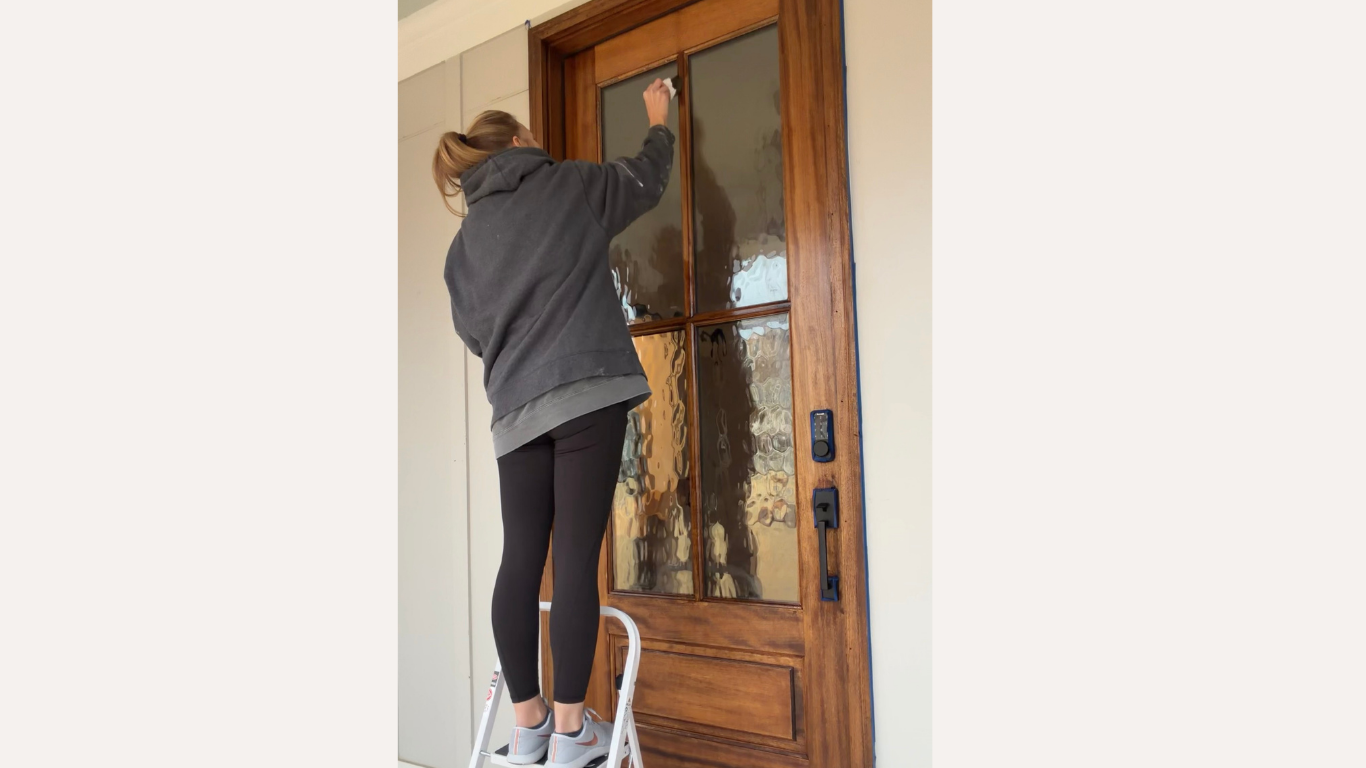
Step 2: Apply the Wood Stain
Once the door was prepped, I applied the stain evenly across the surface. The key when staining wood is to work in the direction of the grain and apply thin, even coats. You can also use a wood conditioner before staining but since I was doing the same color, I opted not to do this.
This helps to:
Prevent streaks
Allow the wood grain to show through
Create a more natural finish
I used Minwax Provincial to restore that warm tone the door originally had.
Step 3: Let the Stain Absorb
After applying the stain, I let it sit briefly so the wood could absorb the color, then I wiped away any excess stain with a paint rag to avoid blotchy spots or overly dark areas.
Step 4: Let the Door Dry & Apply Protectant
After the stain was applied, I allowed the door to fully dry for 24 hours. Once dry, I applied a clear protection coat to help with all the sun exposure and weather elements out here.
I used Minwax Polyurethane and a round sponge for easy application.
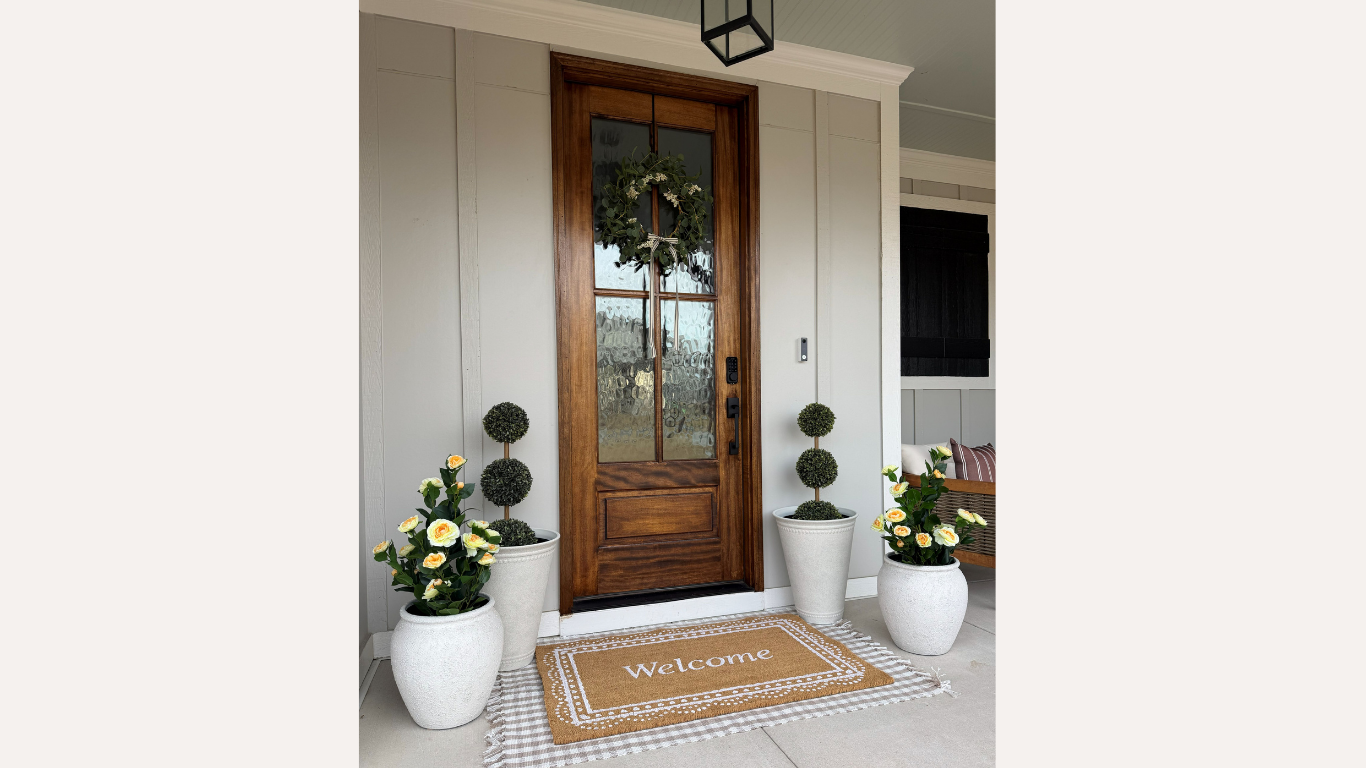
The Final Result
The door now looks warm, fresh, and much closer to how it looked when it was new. And because wood stain enhances the natural grain, the finish feels timeless and classic—not overly trendy.
It’s a simple project that made our curb appeal, exterior and even our entryway feel instantly more polished.
Here are all the Products I Used:
Wood Stain Colors Trending for 2026
One thing I’m noticing lately is that stain trends are shifting darker again. For the past few years, we’ve seen a lot of lighter wood finishes, but richer tones are starting to come back.
Here are three stain colors I recommend trying in 2026:
1. Provincial
The stain I used on this front door.
Warm, rich, and extremely versatile.
2. Special Walnut
Chosen as Minwax’s 2026 Color of the Year.
A slightly deeper tone with a modern feel.
3. Dark Walnut
A classic stain that never really goes out of style.
These deeper tones add warmth and depth, especially on exterior doors.
Final Thoughts
This project was the perfect DIY to refresh our exterior! Sometimes refreshing what you already have, rather than replacing it, can completely transform how your home looks. If your front door has started to fade from sun exposure, re-staining it is a simple and affordable way to bring it back to life.
And remember… If I can do it, so can you!
Want to see these steps in action? You can watch the full Reel on Instagram I created to show you the steps!